The "How it's made" section for TheCuriousPenguin
Aug 22, 2013
The case was based on the aluminum TuxCASE for UNO 2d CAD file. The design was completed using both LibreCAD for the tangential and radius relationships, and Inkscape for general path manipulation.
Modification for MicroSD Adapter
Jan 28, 2013
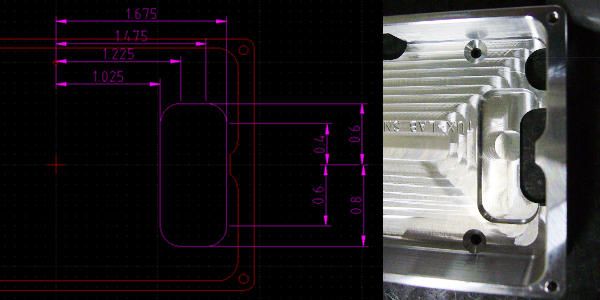
During the demo machining for the loal SGVLUG/SGVHAK, San Gabriel Valley Linux User group, the possibility of increasing the depth of the SD Card slot to accommodate half length micro-SD card adapter was mentioned.
After a quick modification in LibreCAD, a few extra lines of G-code was inserted and TuxCASE for Raspberry Pi project is now complete.
Initial Production Summary
May 22, 2012
The initial batch of the bottle opener has been completed and mailed out. After numerous revisions, only 12 pieces of blanks were left for the final revision. Therefore, out of 100 blanks only 12 acceptable bottle openers were produced.
There first couple revisions had too shallow of a mouth opening that caused the bottle opener to peel the edges ofthe bottle cap. Subsequent revisions were made to lengthen as well as deepen the mouth opening to give better mechanical leverage. Electrochemical etching was inconsistent and was replaced with direct laser marking.
Dye Sublimation Printing
Jun 10, 2010
Dye sublimation is a process where the dye is transformed from its solid state directly into its gaseous state and onto the substrate. Dye sublimation process for printing onto the mug utilizes the same sublimation principle as a dye sublimation printer. However, because the paper is only acting as a intermediary step for the final dye sublimation onto the mug, a mirror image is printed on the paper.
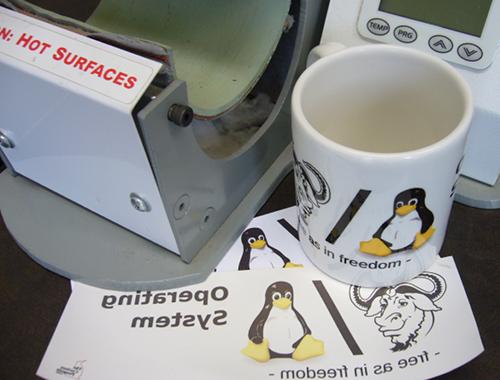
The mugs are coated with a polyester base to allow for proper dye adhesion during the sublimation process. A mug press is used to apply 400F of heat for sublimation of the dye. The mug press also tightly wraps the sublimation paper to the mug surface to ensure complete contact. The process takes around 6 minutes.
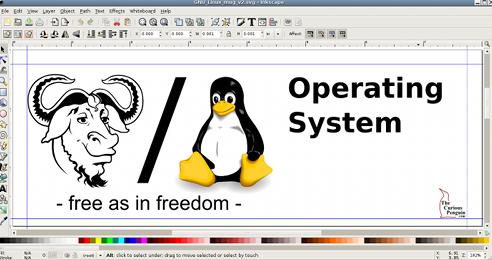
The graphics for the the mug was first created using Inkscape, then printed to a dye sublimation printer onto a special dye sublimation paper for use with the heat press. A variety of coated sublimation paper are available with different release coating.
Once the 6 minute dye sublimation time has elapsed, the mug is placed into a room temperature water tank to cool down the mug and to remove the dye sublimation paper.
The finished product can be found on TheCuriousPenguin.com.
Fat Tux Leather Coaster
Dec 16, 2009
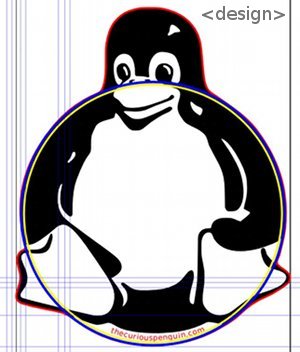
Fat Tux Leather Coaster was designed using Inkscape by modifying the original Tux sgv file. Rectangular vegetable tanned tooling leather plates were obtained from a local leather craft supplier, Tandy Leather Factory. The reason for choosing the rectangular shaped leather over round leather is because the rectangular ones are made in the USA, which turns out to give additional design flexibility in profiling the actual coaster, though it does take more time to cut the profile.
To fatten up Tux for a better coaster shape, a circle was drawn over the original sgv file and various points on Tux were moved tangent to the blue circle to achieve the final "Fat Tux" shape. An second concentric yellow circle was used for company name placement and finally the red outlines was created for the final coaster profile.
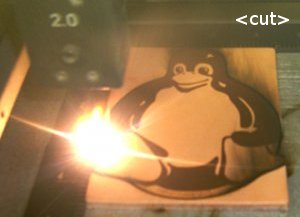
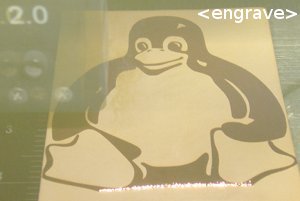
The coaster was created using 3 different laser engraving/cutting profiles. The first is the raster engraving of the Tux shape, the second is a slightly lower power raster engraving of the company name, and the third is an almost full power vector cutting path to separate the Fat Tux Coaster from the rectangular leather block.
Issues that need to be resolved includes how to removed the organic burnt leather smell from the cutting, though the smell does dissipates after a couple weeks. Future improvements includes cutting the profile with a clicker instead of using the laser.
The finished product can be found on TheCuriousPenguin.com.
Laser Engraving
Dec 01, 2009
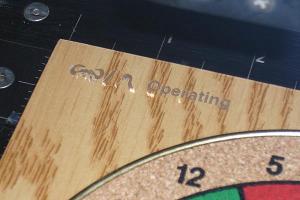 The GNU/Linux logo is a two color logo however the laser engraving is an monotone process. If a single power setting is used, the feet and mouth of the penguin will simple merge into one continuous blob. To achieve a gray tone effect, the laser power intensity can be adjusted as defined by the different color area of the logo. The logo is color separated into two separate colors.
  and different power settings are applied to each color. Also, because of the MDF substrate underneath the paper vaneer, the actual engraved surfaces are lighter in color. To enhance the logo detail a black color fill is applied to the engraved area after the engraving process. The finished product can be found on TheCuriousPenguin.com.


